A Guide To Transform Your Tiles With Effective Loose Grout Repair
Tiles are one of the finest choices for flooring and wall coverings due to their durability, versatility, and aesthetic appeal. However, over time, even the best-installed tiles can develop a common issue: loose or crumbling grout. Not only does this compromise the appearance of your space, but it can also lead to more significant problems if left unaddressed. In this guide, we'll walk you through the process of effectively loose grout repair in Hamilton Ontario to transform your tiles and restore the beauty and integrity of your surfaces.
Step-by-Step Guide for Loose Grout Repair
Step 1: Assessment and Preparation Before you begin, assess the extent of the loose grout issue. Inspect the affected areas and determine if the grout needs a simple touch-up or a more thorough repair. Gather the necessary tools, including a grout saw, replacement grout, a putty knife, a sponge, and a bucket of water.
Step 2: Removing Damaged Grout Using a grout saw, carefully remove the damaged or loose grout. Be sure to wear safety goggles and gloves during this process. Create a groove along the grout lines, taking care not to damage the surrounding tiles. Once the damaged grout is removed, clean the area with a damp sponge to remove any debris.
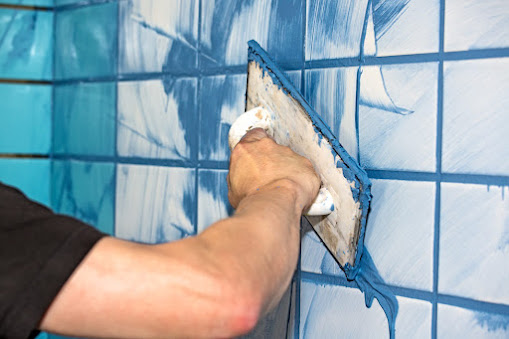
Step 3: Mixing and Applying New Grout Follow the manufacturer's instructions to mix the replacement grout. Consistency is key, so aim for a smooth and workable texture. Spread the new grout over the cleaned and prepared area using a putty knife, pressing it firmly into the gaps between the tiles. Make sure the grout lines are evenly filled.
Step 4: Smoothing and Cleaning After applying the new grout, use a damp sponge to wipe away any excess grout from the tile surfaces carefully. Rinse the sponge frequently until the tiles are clean, and the grout lines are uniform. Allow the grout to set for the recommended time.
Step 5: Sealing the Grout To enhance the durability of your newly repaired grout, consider applying a grout sealer once the grout has fully cured. It will help protect against moisture, stains, and future wear and tear. Follow the sealer manufacturer's instructions for application and drying time.
Conclusion
Loose grout repair in Hamilton Ontario is a rewarding project that can significantly improve the appearance and longevity of your tiled surfaces. By following these steps and taking the time to repair and maintain your grout properly, you can transform your tiles and create a stunning environment that you'll enjoy for years to come. Remember, regular upkeep and prompt repairs are essential to ensure the ongoing beauty and functionality of your tiled spaces.
.jpg)


Comments
Post a Comment